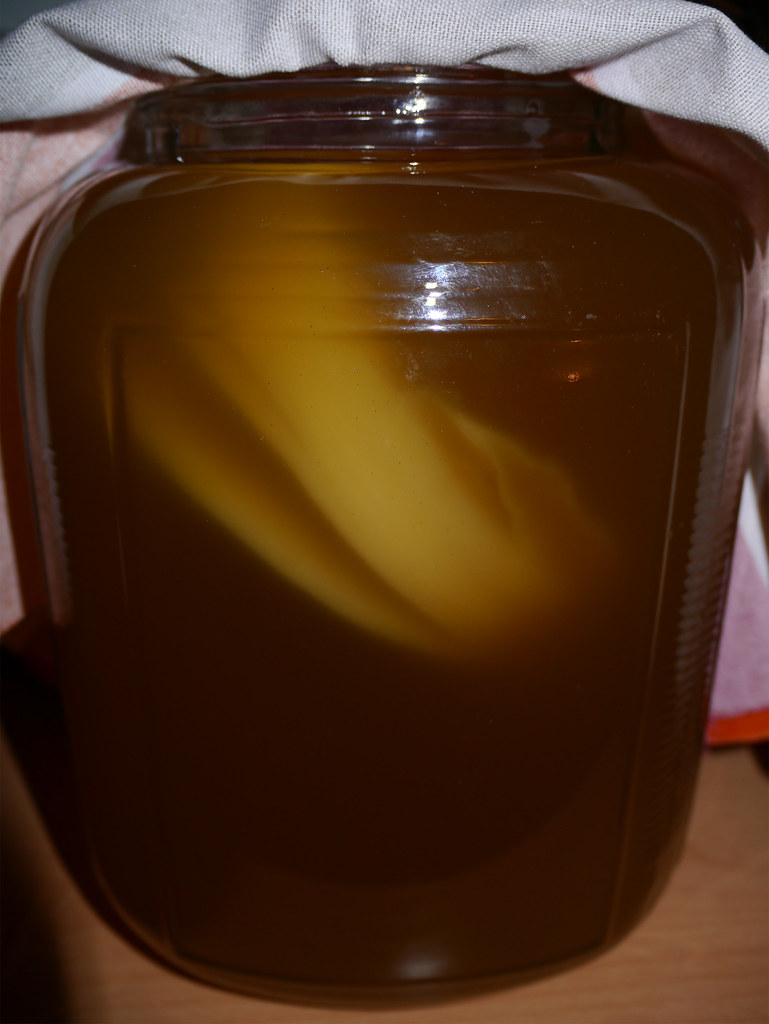
[dropcap]Oh[/dropcap] dear – the time has finally come, and I do humbly apologise for the delay in publishing this post, because as you may know, it has been some time now since the idea of making kombucha first appeared on Padaek.
But you know how it is – a new day passes by so easily and quickly, and before we know it, Christmas decorations are already up and a new silver/white hair appears in the strangest of places (FYI – in one of my nostrils) – I know this because they’re very easy for me to find because I normally have black (nostril) hair – and a man’s got to groom himself gawdammit!!
Anyhow – we’re not here to dwell on/talk about that – we are here to finally make our very own home-brewed kombucha. And as you’ll soon see in the pic of XING below, she is so fat and full now (and quite possibly ready to self explode/combust) that I’m sure she’s looking forward to this day as well – to be transferred into a new/larger jar of freshly brewed sweetened green tea (her favourite) for her to swim in – so let’s not waste another minute and get straight into it, shall we. This post is for you, my dear XING!
Note: I am new to making home-made kombucha, in fact this is my very first time. My process/steps below are based on the instructions/info provided by Emma Christensen at The Kitchn and Katie at Wellness Mama. There are other sites/links out there that provide similar instructions, but these two sources appeared on the first page on Google – hence – tra-da! Thank you both for the instructions/directions. I wouldn’t know what to do without your guidance.
Note Note: This post is a post/work in progress. The kombucha tea takes about 7-10 days to ferment, after which it will be transferred into resealable glass bottles (and then left to carbonate at room temp.) before being refrigerated, ready for icy cold blissful consumption. I will continue to update this post and add these extra steps later when they’ve been done. I’ll keep you informed of the updates on Facebook. Thank you for your patience and understanding.
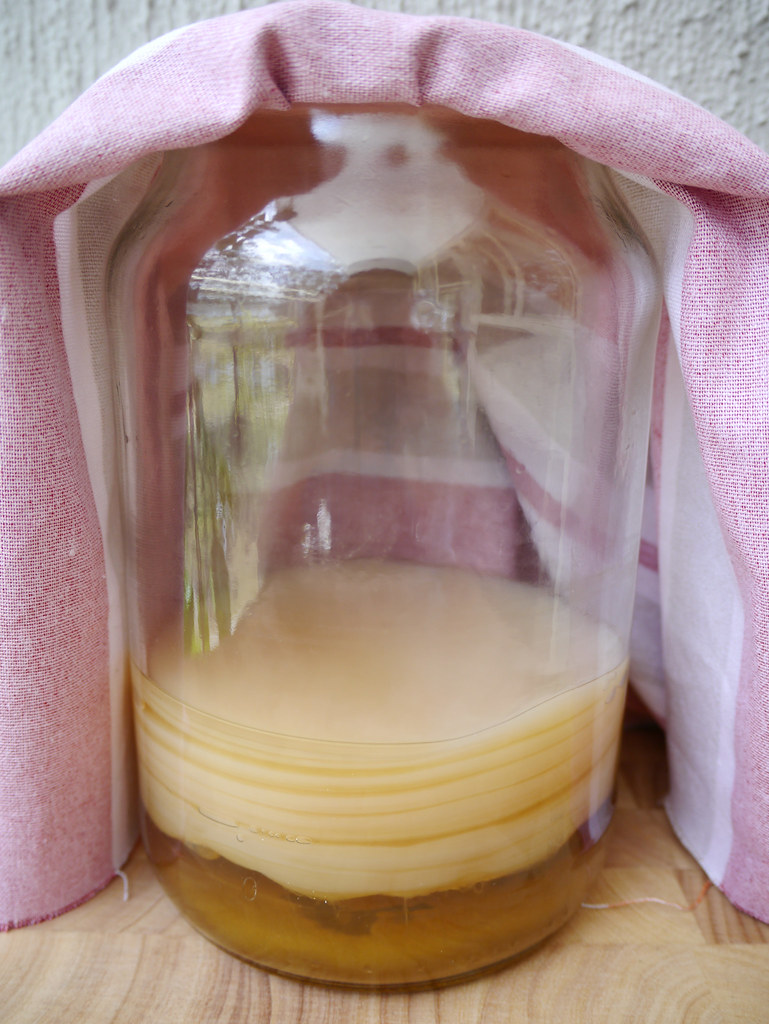
XING – My fabulous home-made SCOBY! Isn’t she a beauty! bigsmile
Date Taken: 19/11/14, 12:24 PM (81 days old)
To make kombucha tea, you will need a SCOBY (Symbiotic Colony Of Bacteria & Yeast) which can be bought from a SCOBY grower (search online – Ebay, Gumtree, etc.), or you can easily grow one yourself from a bottle of store bought raw/unpasteurised kombucha by following the steps/instructions here. You will also need some starter kombucha tea (from the last batch of kombucha tea that you grew your SCOBY in, for example, or a store-bought bottle of kombucha). According to Emma Christensen at The Kitchn, the reason for this is “the starter tea makes the liquid acidic, which prevents unfriendly bacteria from taking up residence in the first few days of fermentation.”((1)) From my online research/readings, it appears that the starter tea is “optional” because some people who have made kombucha tea without the starter tea have also had success. Because I’m new to all of this, I’ve decided to also add the starter tea to my process/recipe.
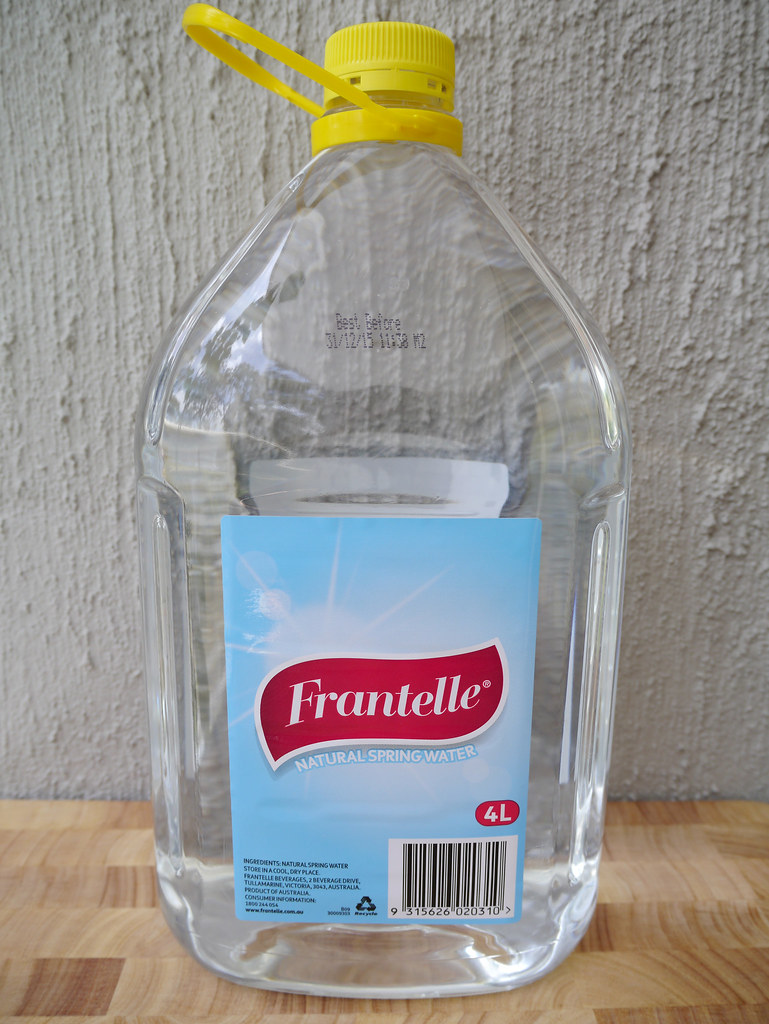
I decided to make the kombucha tea using bottle spring water, which is what I used to grow my SCOBY/XING with, which was a success. Next time, I think I will just used boiled tap water to save on costs. I’m not sure if there’s any significant difference between boiled tap water and bottled spring water to be honest.
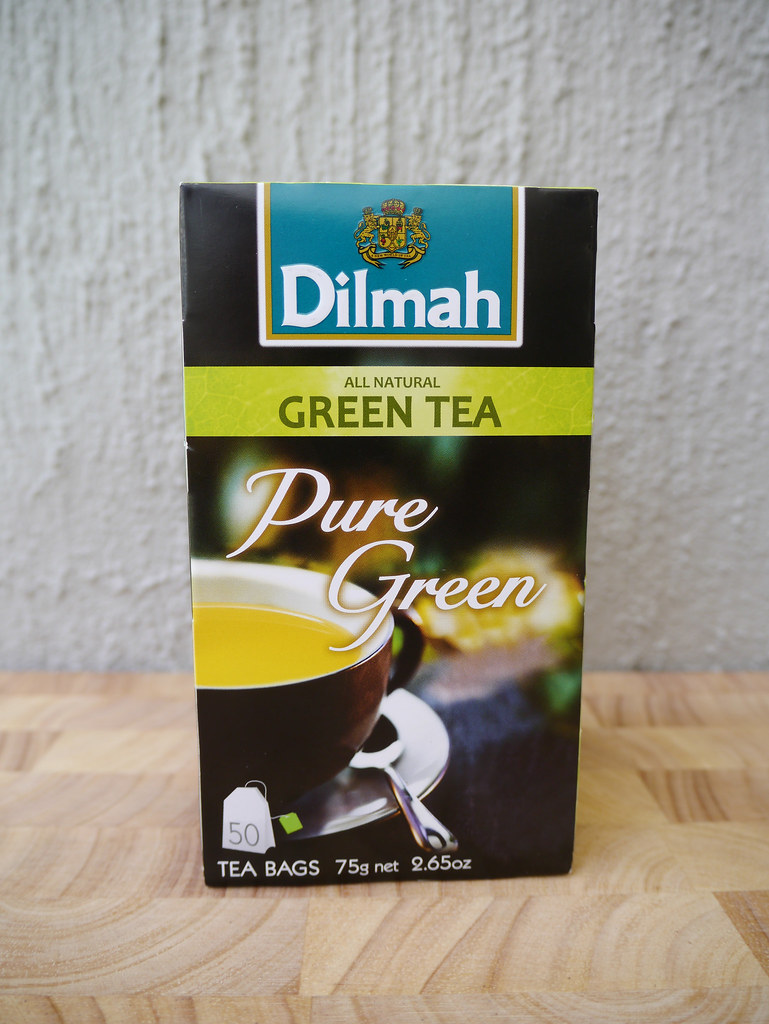
I wanted to use the OXFAM organic green tea that I used last time to make my SCOBY/XING, but unfortunately I couldn’t find it quickly/easily enough, so I used Dilmah green tea instead. Dilmah makes great black tea and this green tea is delicious too – light, subtle/delicate. You can also use black tea to make kombucha with, but I’ve seen pics of dark kombucha black tea online, and they look quite menacing/urgh, whereas green tea looks lighter and more appetizing I think. Just saying – the choice is yours grasshopper.
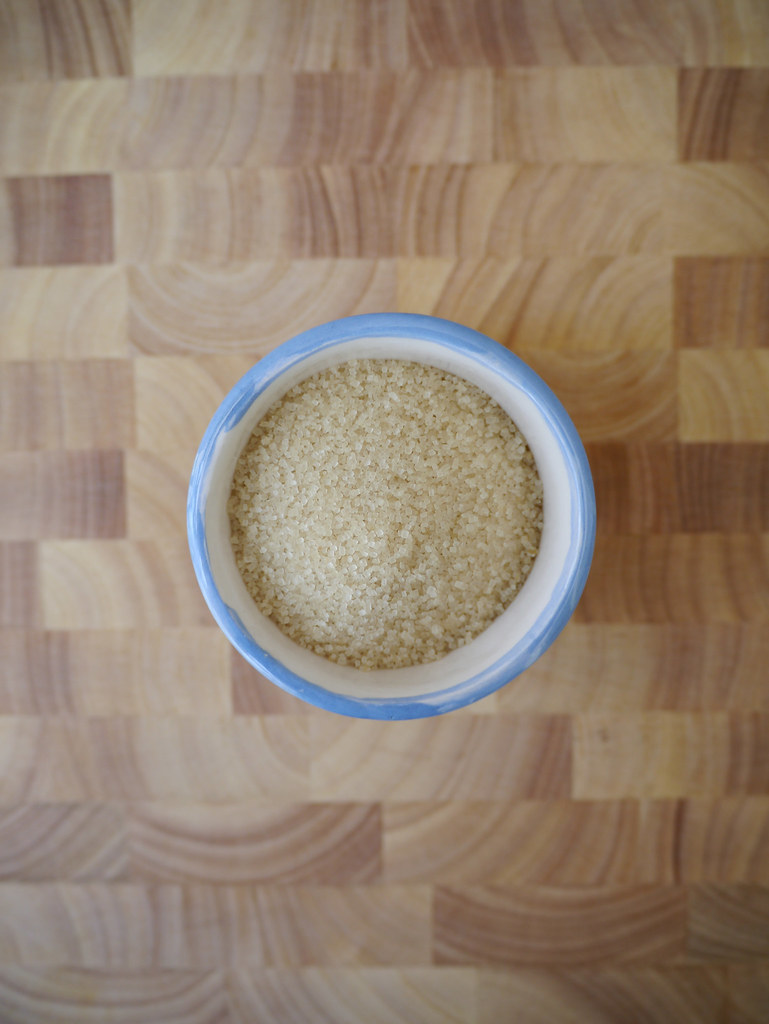
I used raw sugar, the same as last time. I’ve read some info online that advises to not use honey, because it has antibacterial properties that can weaken the SCOBY.
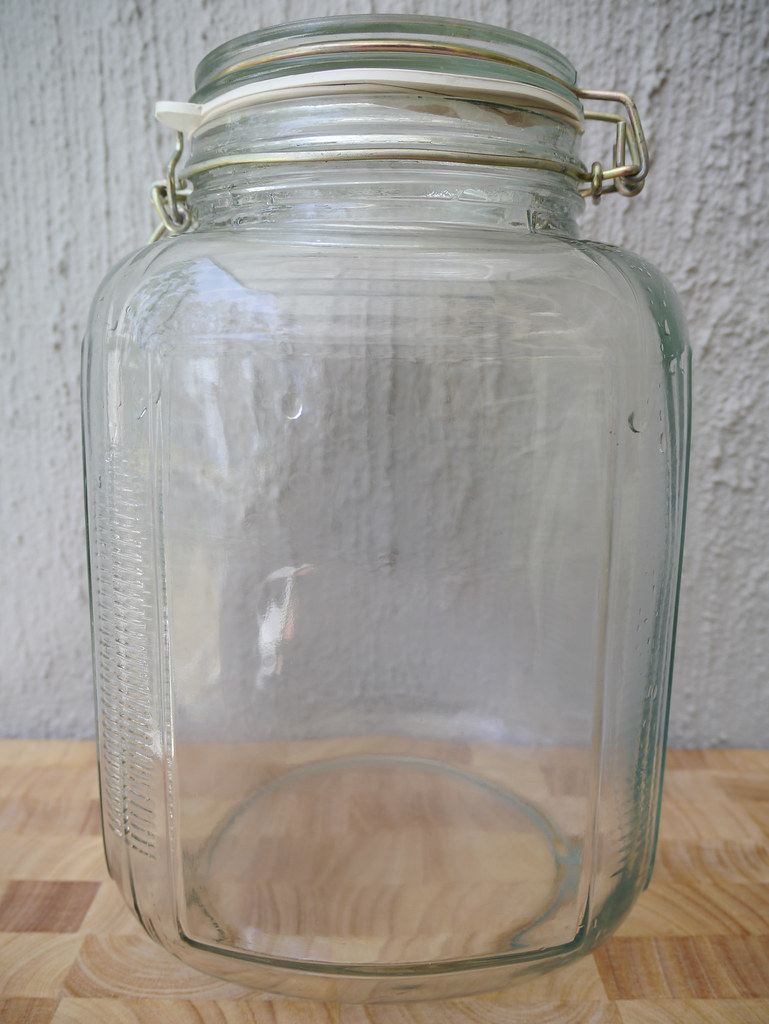
You will need a large clean/sterilized glass jar to ferment the kombucha tea in. I reused my trusty 4 litre glass jar that I normally use to make pickled onions with. It is very important that the glass jar is very clean/sterilized. Did you know that the metal hinged lids of these glass jars can be easily removed without damaging/ruining the jar? All you need to do is press the back metal pieces together and tra-da! bigsmile I only found this out by accident, after not having a large enough cap lid jar to use, and taking some time to think about the solving the problem. I surprise myself sometimes.
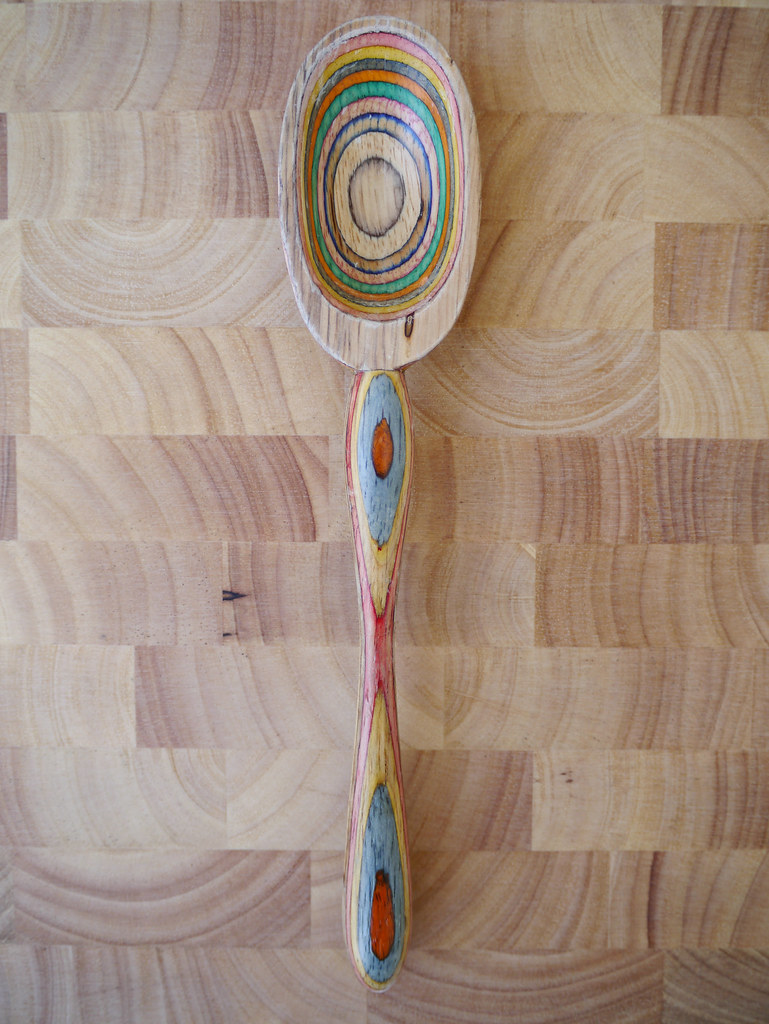
There’s a lot of sources online that states that kombucha/SCOBY and metal don’t mix, and it is advised that prolonged contact with metal is avoided. Emma Christensen at The Kitchn states: “Using metal utensils is generally fine, but avoid fermenting or bottling the kombucha in anything that brings them into contact with metal. Metals, especially reactive metals like aluminum, can give the kombucha a metallic flavor and weaken the scoby over time.”((2)) For this reason, and to play it safe, I used a wooden spoon to stir my kombucha tea mixture, and removed my ring when handling the SCOBY.
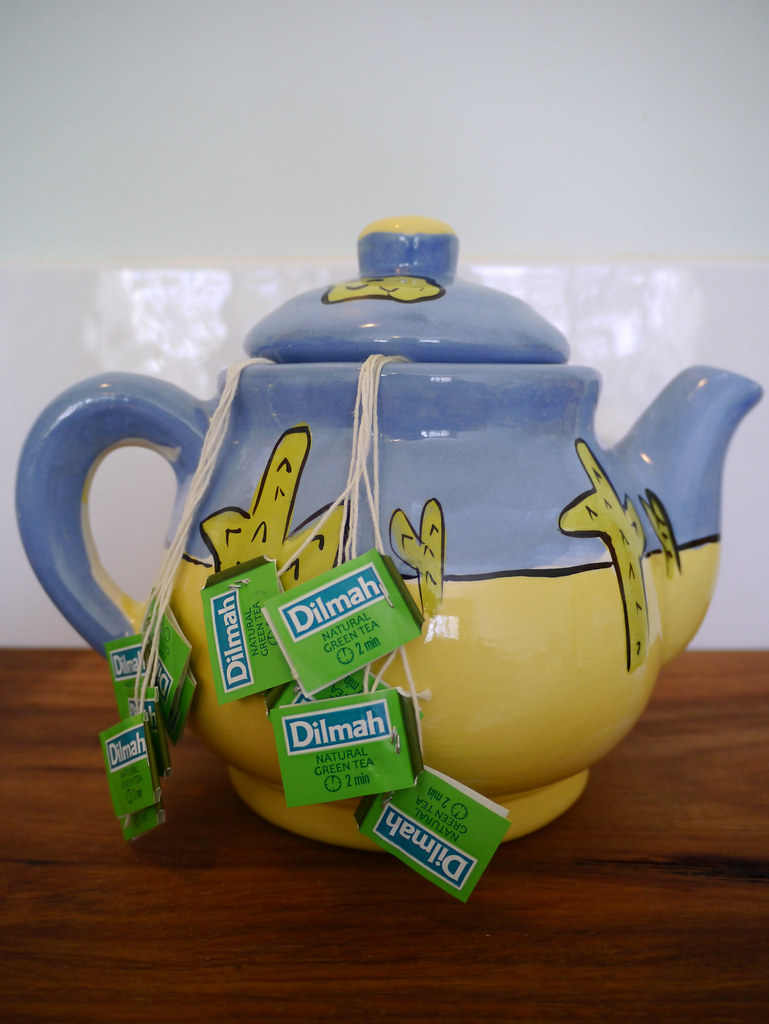
First, make/brew your tea. In a tea pot, place the 12 bags of green tea. Pour in the boiled spring water and let the tea brew/steep. Gently stir and press the tea bags with a clean wooden spoon to extract as much tea as possible.
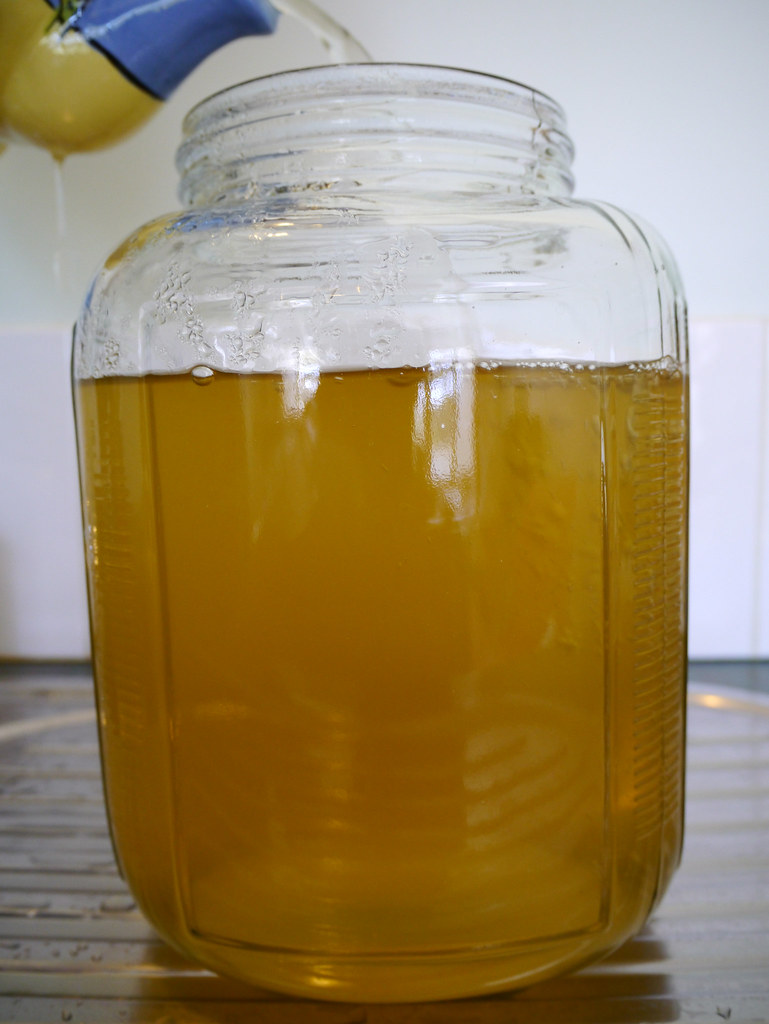
Pour the brewed/steeped tea into a clean/sterilised 4 litre glass jar. Refill the tea pot with more boiled spring water, and again, pour the tea into the glass jar. Repeat for the remaining spring water.
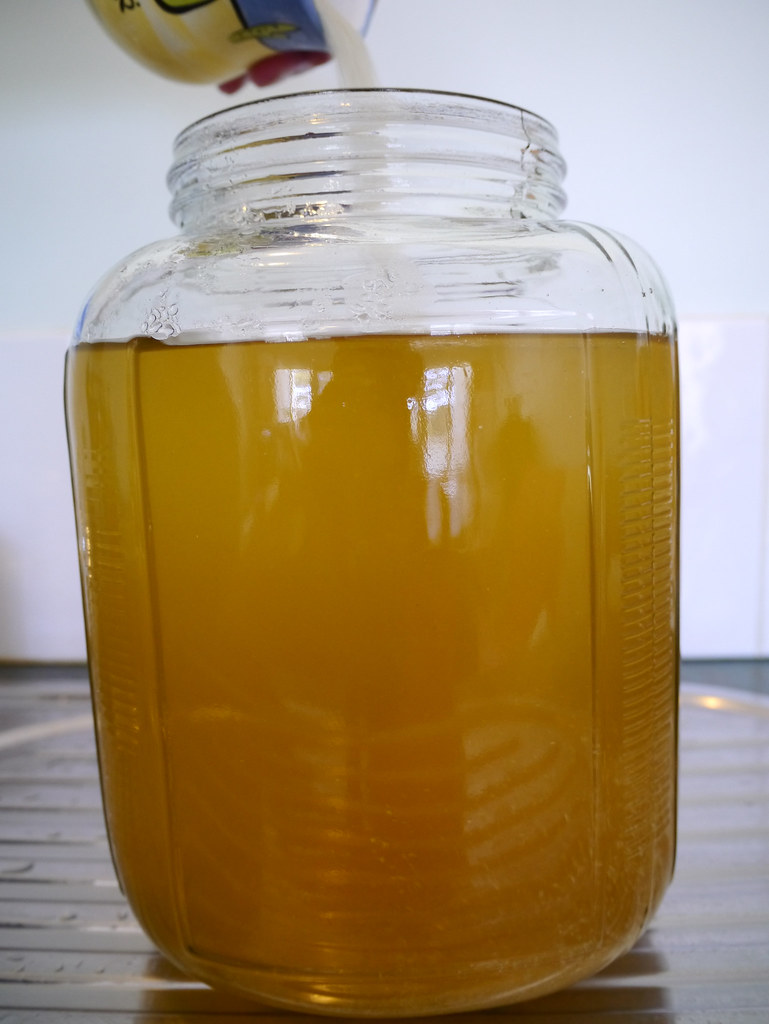
Add the raw sugar.
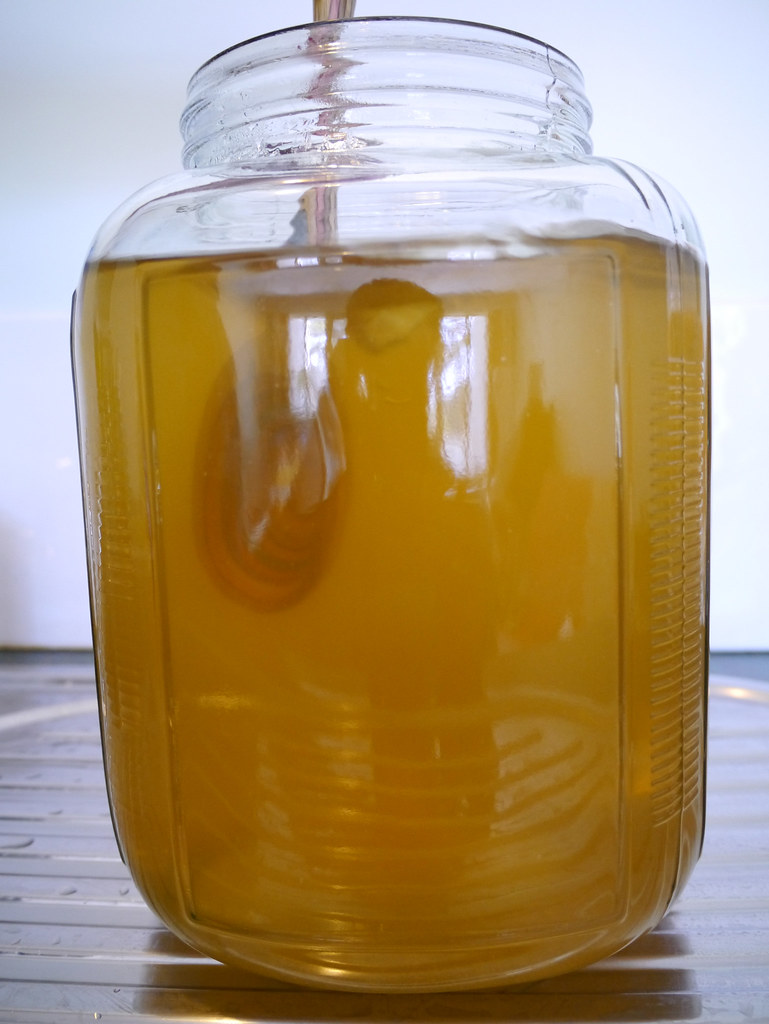
Stir the tea and sugar mixture with a clean wooden spoon to fully dissolve the sugar and mix the ingredients together.
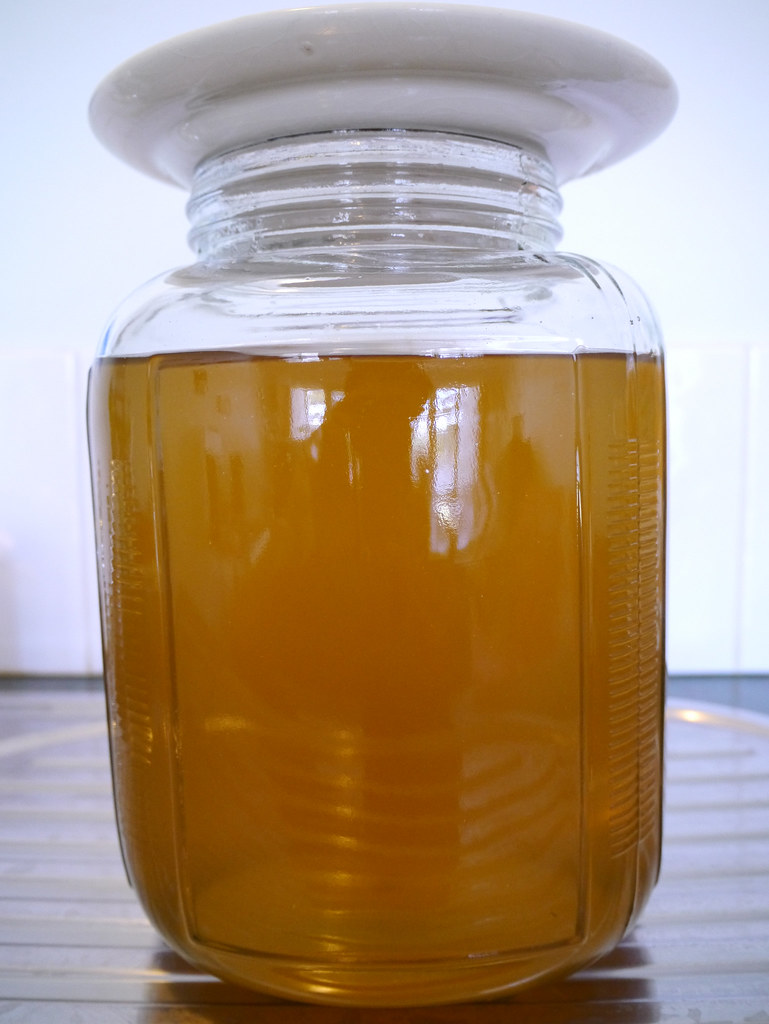
Cover the mouth of the jar with a clean saucer and let the sweetened tea cool down completely.
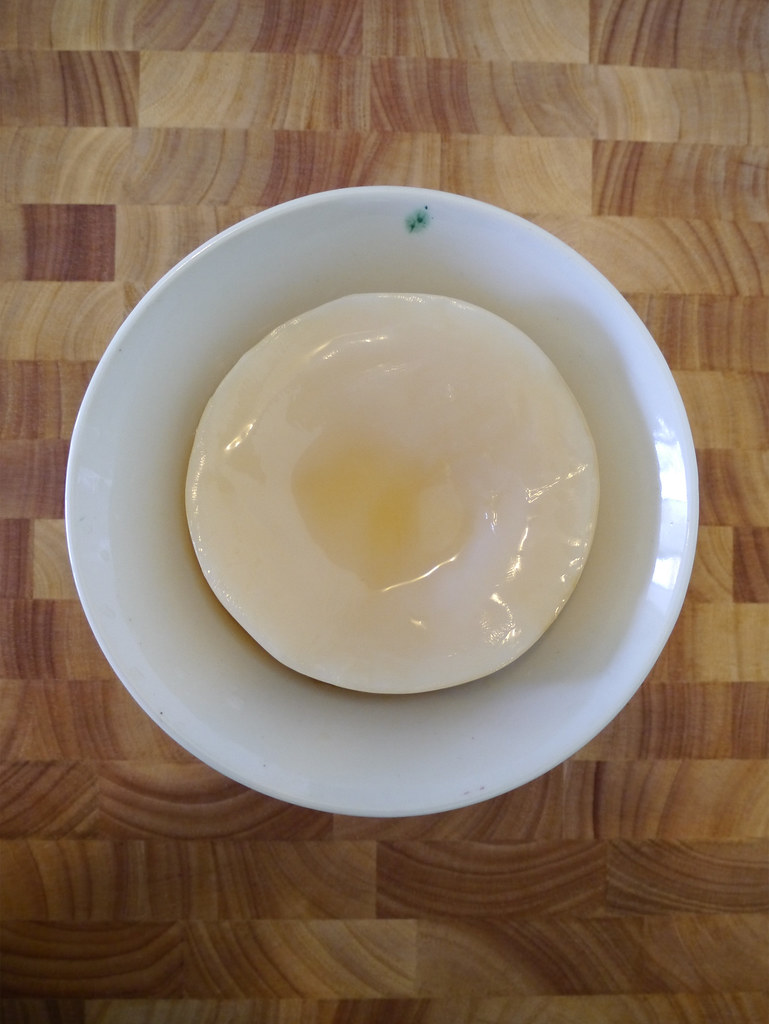
My plump/healthy SCOBY/XING out of its comfort zone, with yours truly’s finger prints on it (as I tried to pull it out of its small-opening jar).
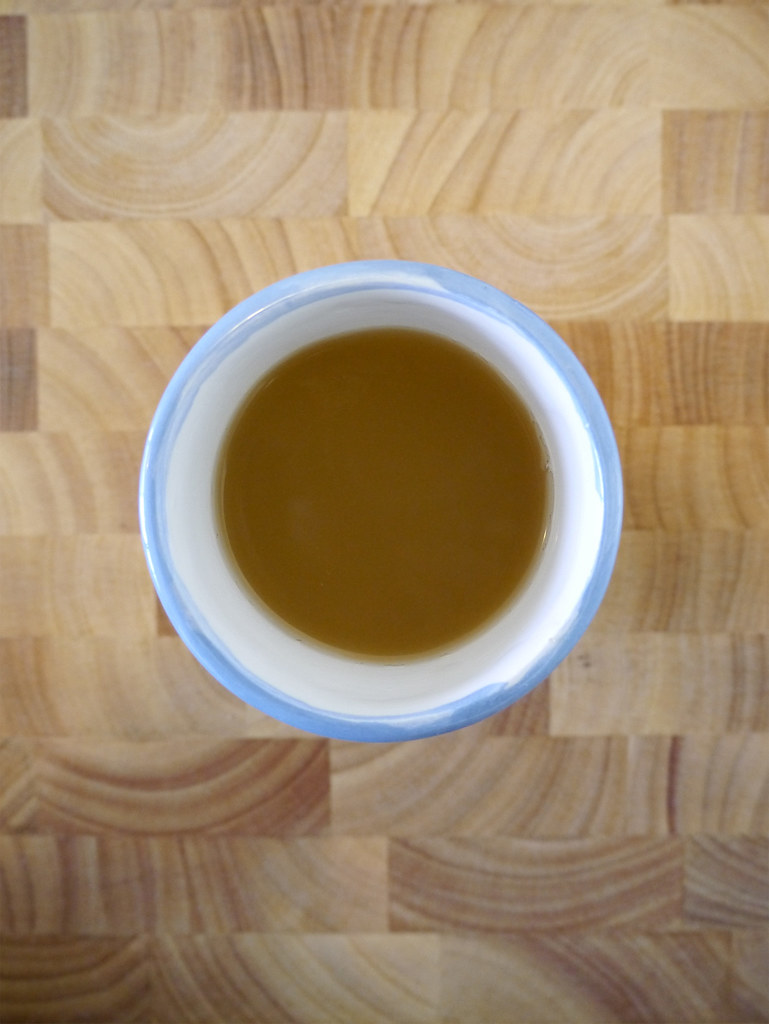
The starter kombucha tea – from the jar that my SCOBY/XING was made in. There was only about ¾ of a cup’s worth that remained in the jar. As you can see, it looks rather thick/cloudy/murky/sediment-y/almost padaek-like – not your typical starter kombucha tea. I hope it is still OK to use.
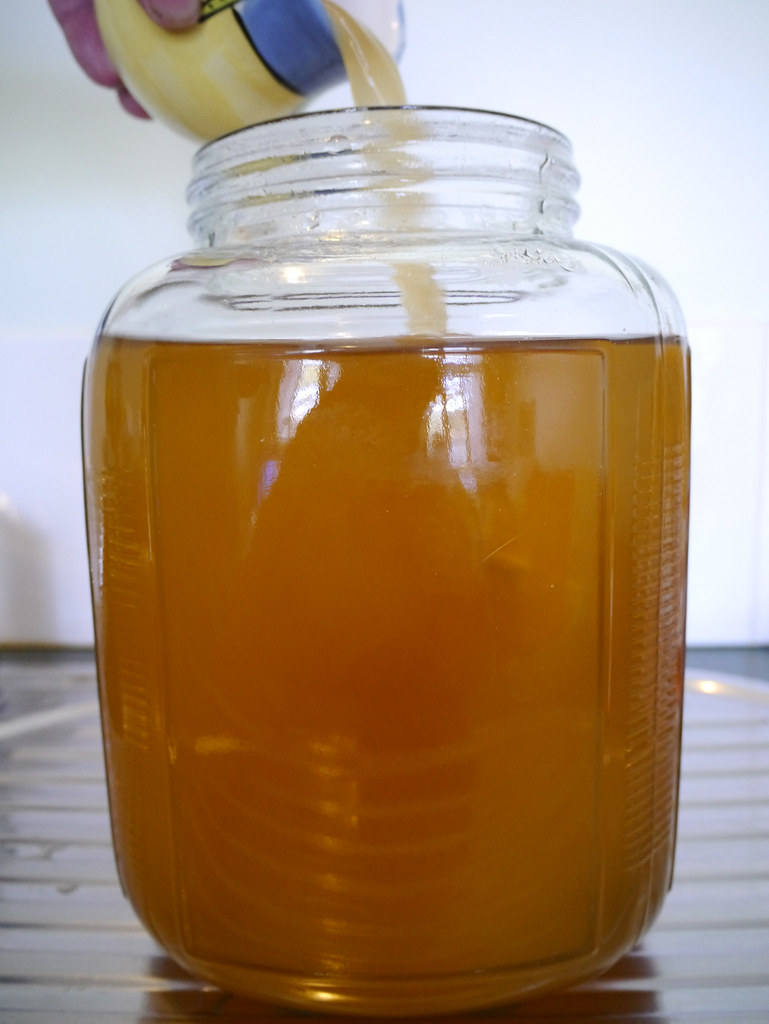
When the sweetened tea has cooled down completely, pour the starter kombucha tea into the sweetened tea mixture. Stir through with a wooden spoon.
Note: I only used ¾ cup of starter kombucha tea, instead of 2 cups, as specified in the recipe.
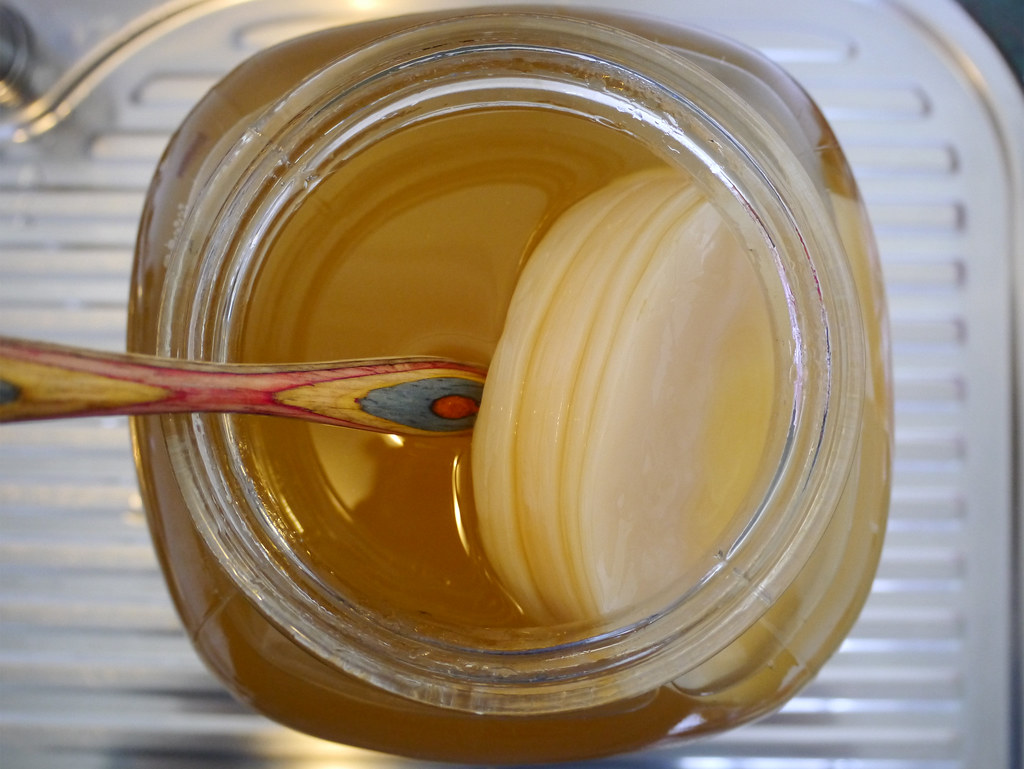
Carefully and gently, with your super clean (metal ringless) hands, pick up and place your SCOBY into the glass jar.
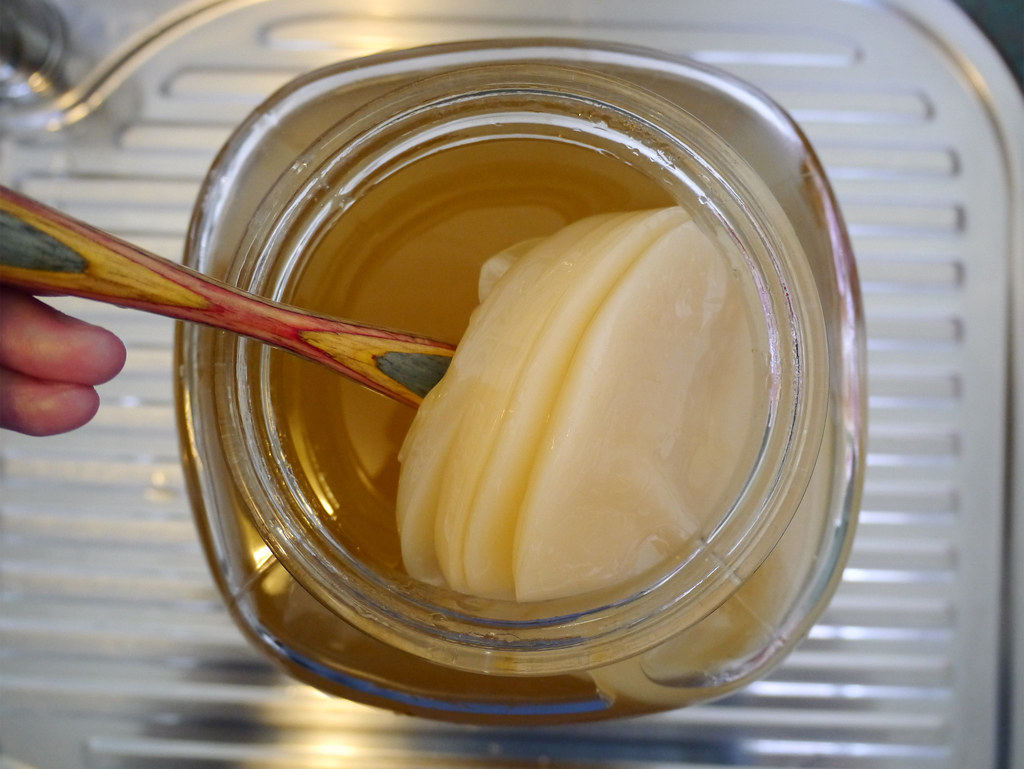
As you can see in the photo above, all of those extra layers of “fat” on XING are in fact layers/duplicates/sisters of herself. At 81 days old, I certainly did let her grow beyond a typical sized SCOBY (sorry XING), and as I tried to grab her out from her old jar to place into her new jar, her layers of self easily unpeeled/pulled apart. I did not know what to do with all of these excess/extra SCOBY/XING duplicates, so I just placed all of them in the new jar of sweetened tea to make the kombucha.
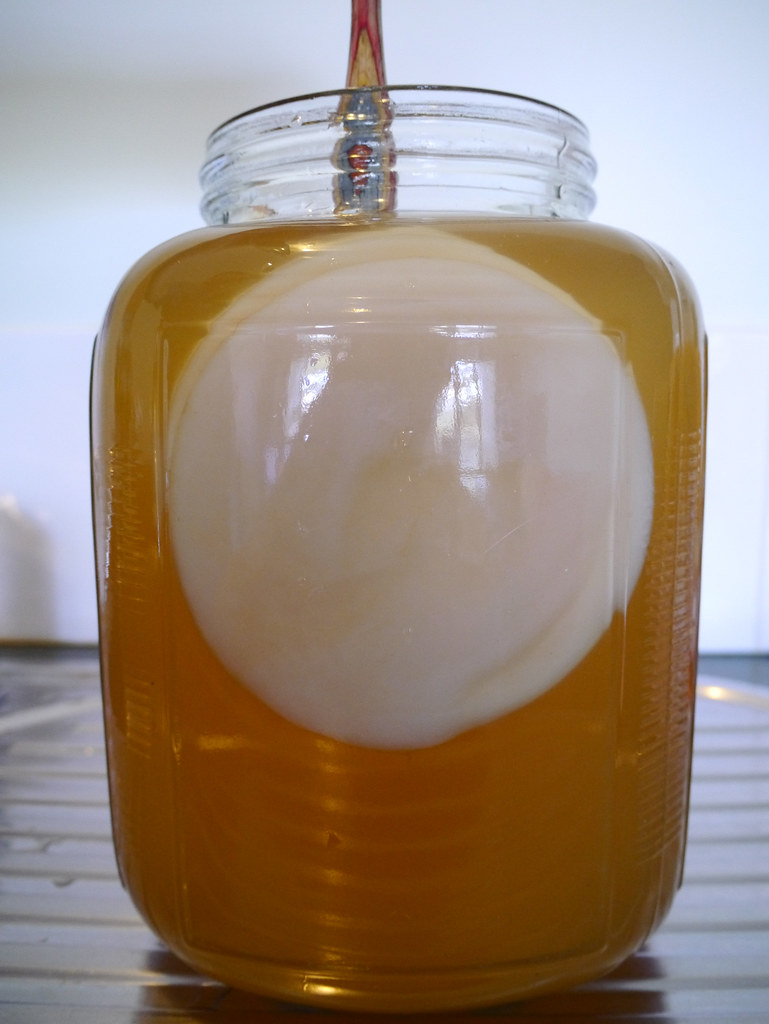
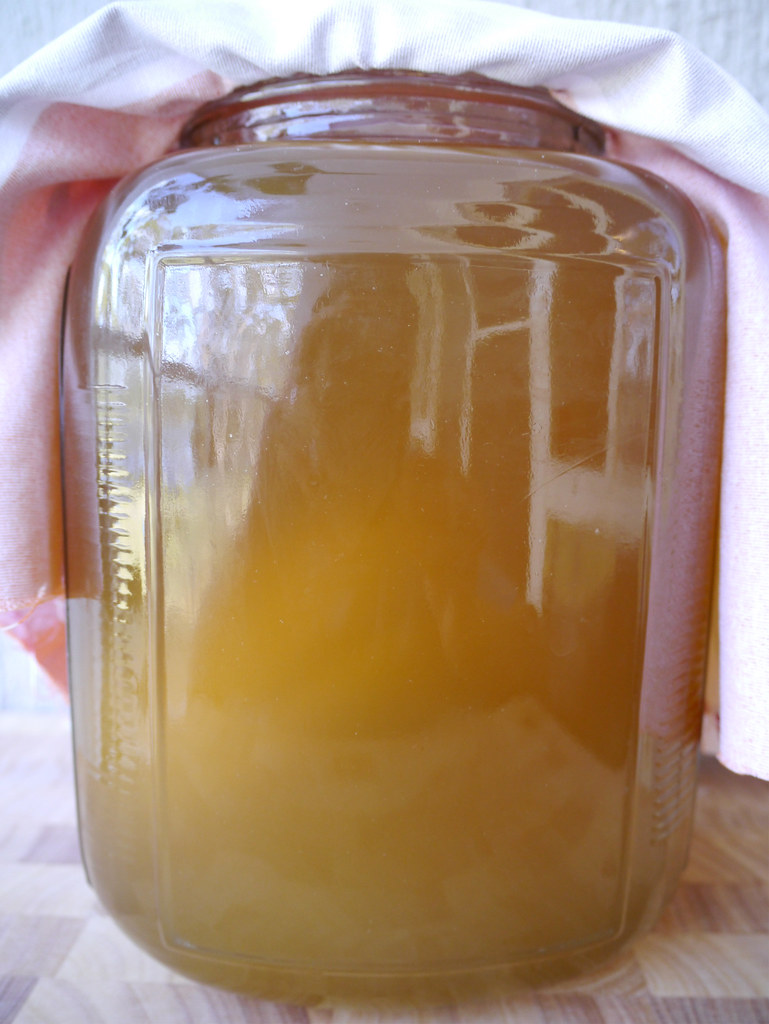
Cover the mouth of the jar with a clean cotton (breathable) cloth and secure tightly with a rubber band. That’s practically it! Simple, right?!
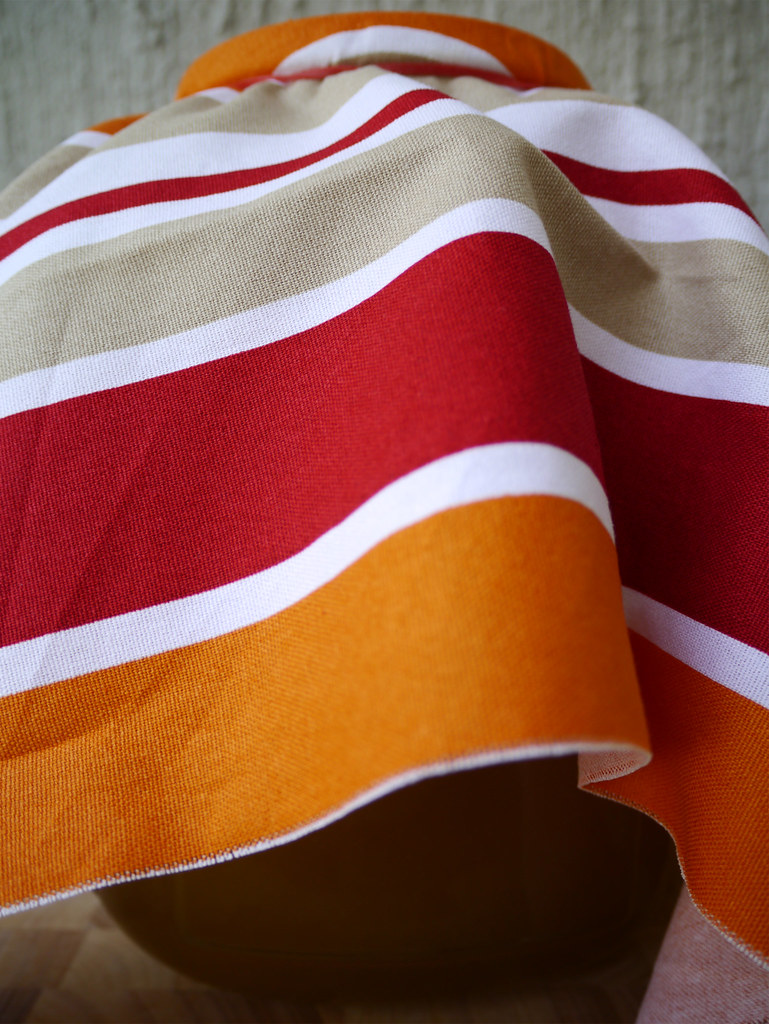
A Lawrence X Marilyn moment.
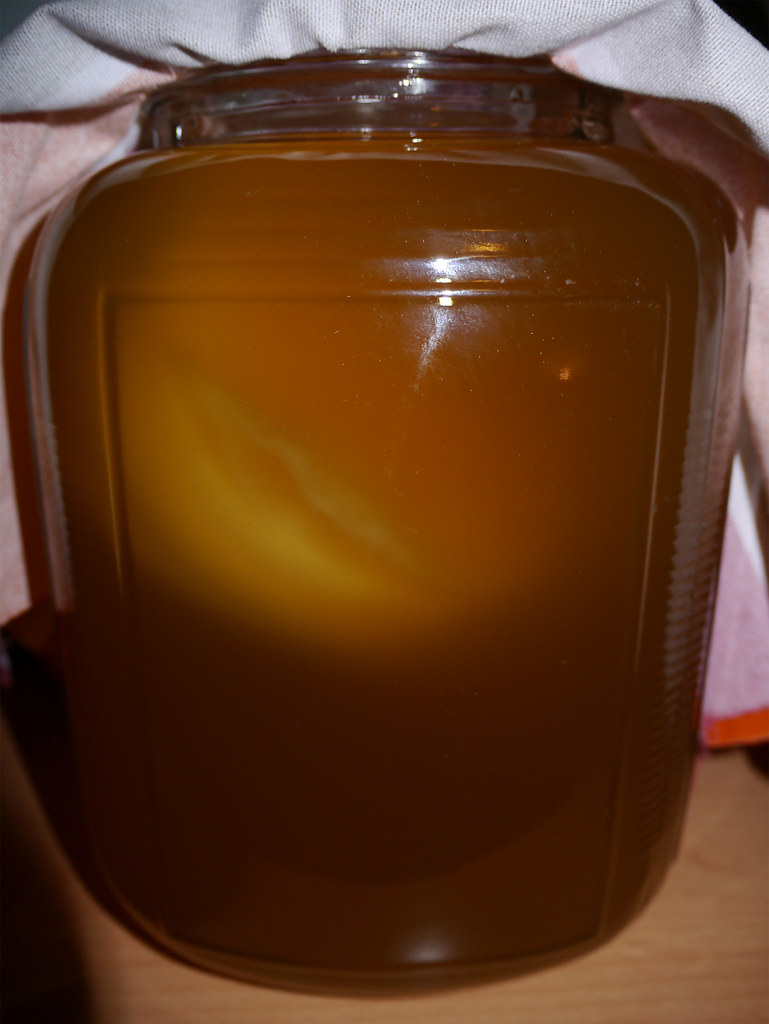
Let the kombucha ferment for 7-10 days. Keep the jar in a safe place at room temperature, away from direct sunlight.
Note: Remember to label the jar with the date that you made the kombucha tea, so that you can remember to taste test it at the correct date. Also, add this date into your calendar or something similar so that you will be reminded to taste test it and not forget about it like some people can. [This post is to be continued in 7-10 days time. Stay tuned! ]
- 1 SCOBY
- 2 cups of starter kombucha tea (from last batch of kombucha or store-bough raw/unpasteurised kombucha)
- 4 litres of spring water
- 10 green tea bags (organic)
- 1 cup of raw sugar
- First, make/brew your tea. In a tea pot, place the 12 bags of green tea. Pour in the boiled spring water and let the tea brew/steep. Gently stir and press the tea bags with a clean wooden spoon to extract as much tea as possible.
- Pour the brewed/steeped tea into a clean/sterilised 4 litre glass jar. Refill the tea pot with more boiled spring water, and again, pour the tea into the glass jar. Repeat for the remaining spring water.
- Add the raw sugar.
- Stir the tea and sugar mixture with a clean wooden spoon to fully dissolve the sugar and mix the ingredients together.
- Cover the mouth of the jar with a clean saucer and let the sweetened tea cool down completely.
- Carefully and gently, with your super clean (metal ringless) hands, pick up and place your SCOBY into the glass jar.
- Cover the mouth of the jar with a clean cotton (breathable) cloth and secure tightly with a rubber band. That’s practically it! Simple, right?!
- Let the kombucha ferment for 7-10 days. Keep the jar in a safe place at room temperature, away from direct sunlight.
[[1]]Reference: http://www.thekitchn.com/how-to-make-kombucha-tea-at-home-cooking-lessons-from-the-kitchn-173858.[[1]]
[[2]]Reference: http://www.thekitchn.com/how-to-make-kombucha-tea-at-home-cooking-lessons-from-the-kitchn-173858.[[2]]
Leave a Reply