
[dropcap]The[/dropcap] jar of kombucha tea has been fermenting for 10 days, and it’s now time to transfer it into bottles so that it can further ferment/carbonate, before it is placed in the fridge, ready for consumption/drinking. End of story!
Eeeeek – what a horrible way to start a post, but seriously though folks, I’m starting to think that this whole kombucha saga is carrying on a little too long now. I don’t want to put you off the process of making your own kombucha because in theory and generally, it’s quite easy/hassle-free. It’s just that considering the time and effort I’ve put into making it so far (from growing my own SCOBY to fermenting the tea, to now), I’m beginning to wonder that perhaps it might just be easier to buy/drink store-bought kombucha instead?
I’ll probably do both, because where’s the fun and challenge in consuming store-bought all the time? Also, it has been nobody’s fault but my own in this process and I hate giving up! 1
Anyhow, this step – known as the “second ferment”, aka “carbonate the kombucha” or “make kombucha soda” is a straightforward/quick/easy process, as illustrated below. All you need is the jar of fermented kombucha which you had brewing for 7-10 days, glass bottles with lids, a funnel, cheesecloth (optional), and flavouring agents (fruit juice, fruit syrup, fruit slices, berries, etc. – also optional).
I based my judgement on the taste of my kombucha on my memory of what the MOJO kombucha tasted like. My kombucha tasted distinctly different – most notably, there was no bubbles and less zing/sharpness compared to the MOJO. Although, there was a pleasant sweet tea flavour with a slight zing/tang to it. Not bad for a first go! Please note that the kombucha is ready for drinking at this stage, and the “second ferment” is optional.
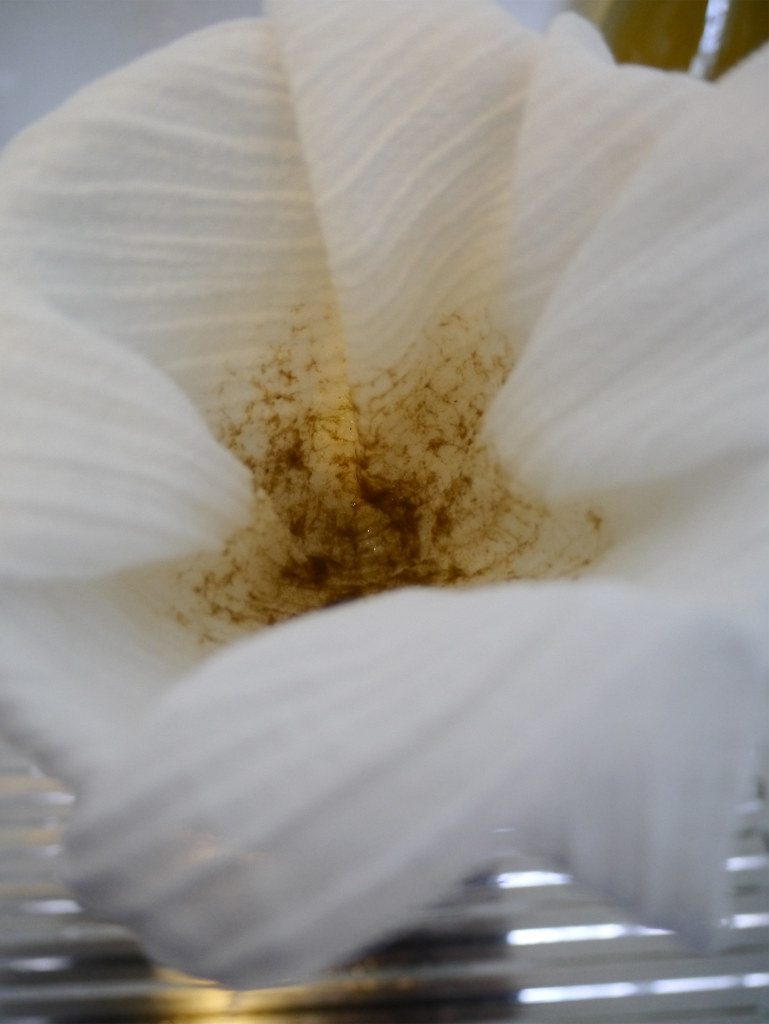
Note: In my process, when I poured the kombucha into the glass bottles, I only filtered it (by lining the funnel with cheese cloth) for the last bottle, and not for the first 4 bottles. The reason for this is because I thought the initial kombucha for the first 4 bottles was clear enough to not be filtered, but the remaining kombucha was obviously more cloudy/murky and needed to be filtered. It is up to you to filter the kombucha before bottling it or not. Both Emma Christensen and Wellness Mama do not really mention the need to strain the kombucha before bottling. Emma mentions “(straining, if desired)”. Furthermore, if you’re concerned about the natural “stuff” floating in the kombucha, simply strain the kombucha tea before serving/drinking it!
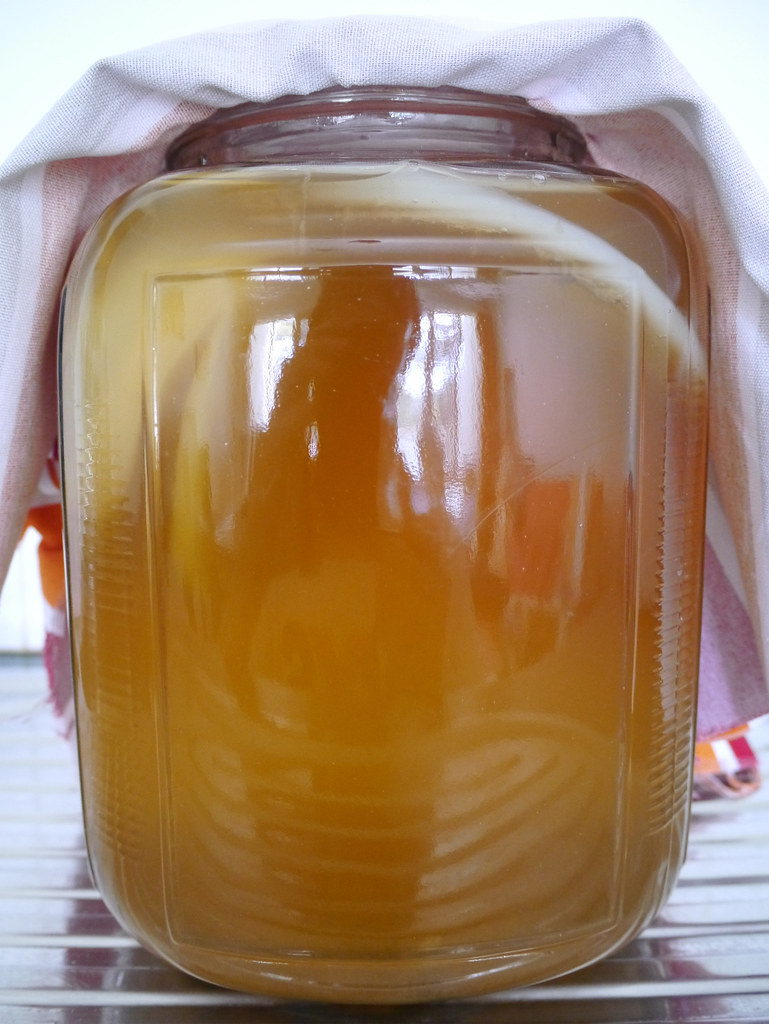
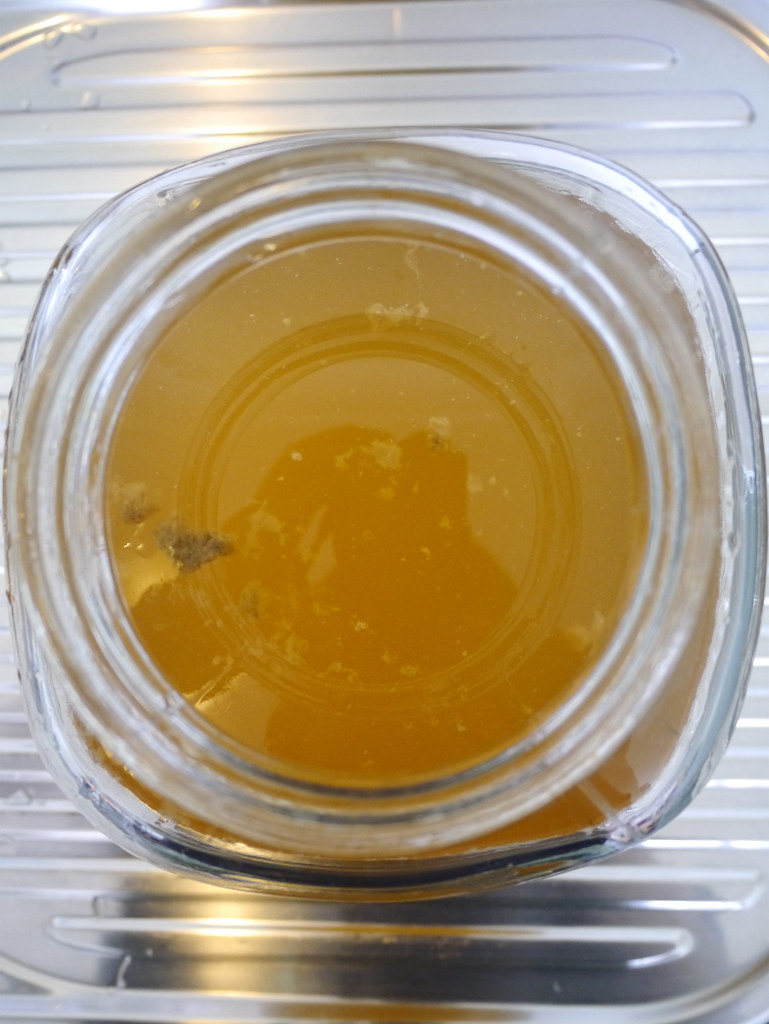
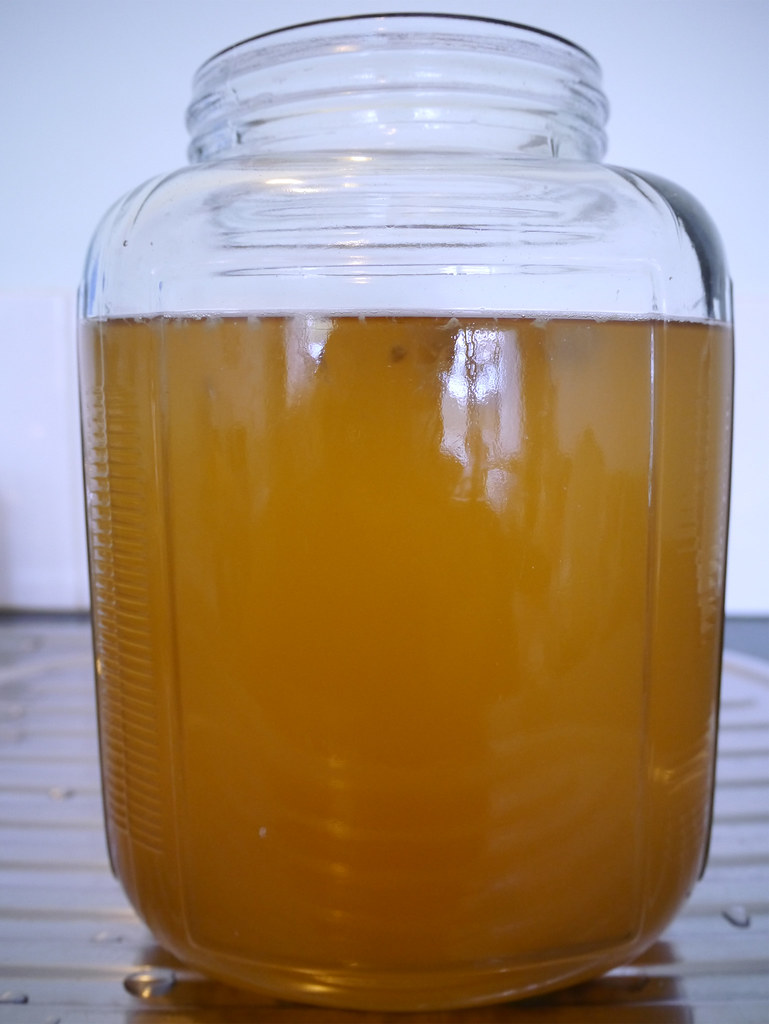
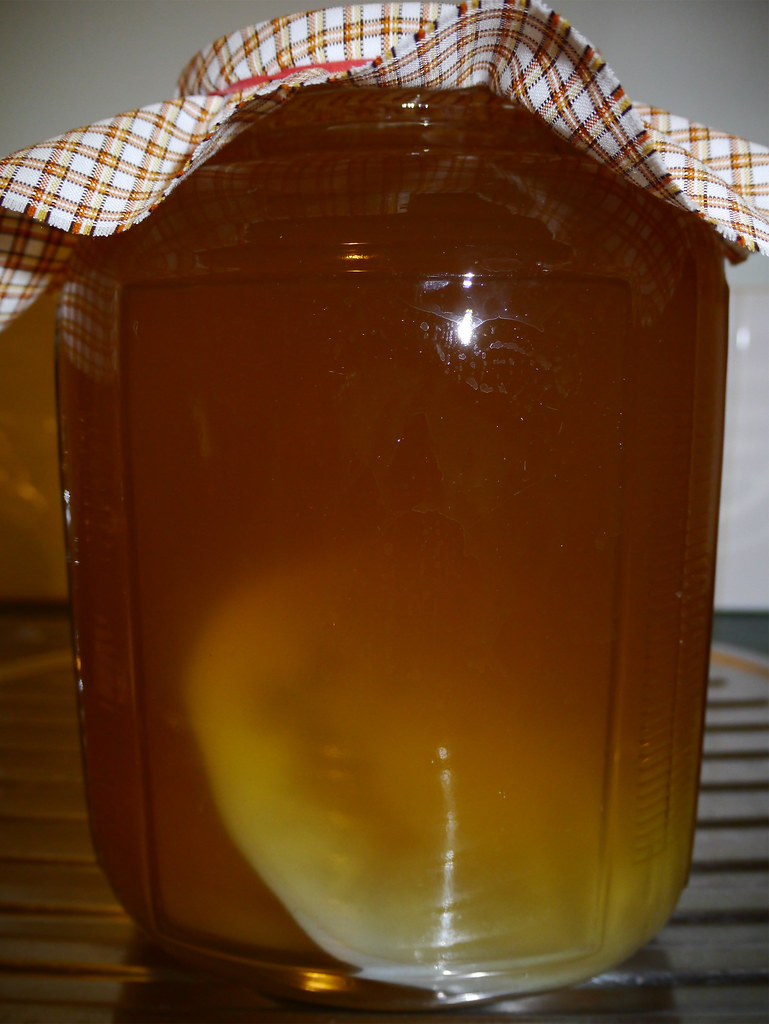
Jar of fermented kombucha green tea.
Photo taken: 29/11/14, 1:18 PM (10 days of fermentation)
Notice the new white SCOBY on our right of the jar? It had formed and stayed on the surface of the tea but managed to move to the side when I lifted/moved the jar. The original SCOBY/XING is on the left. It really is that easy to grow a SCOBY!
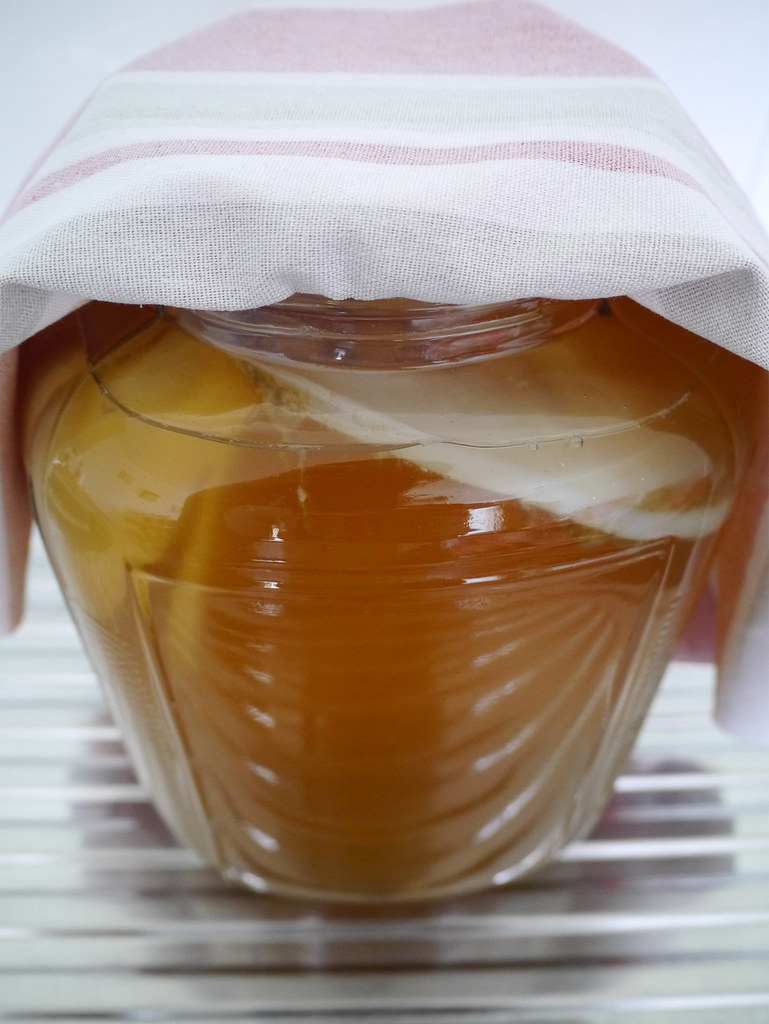
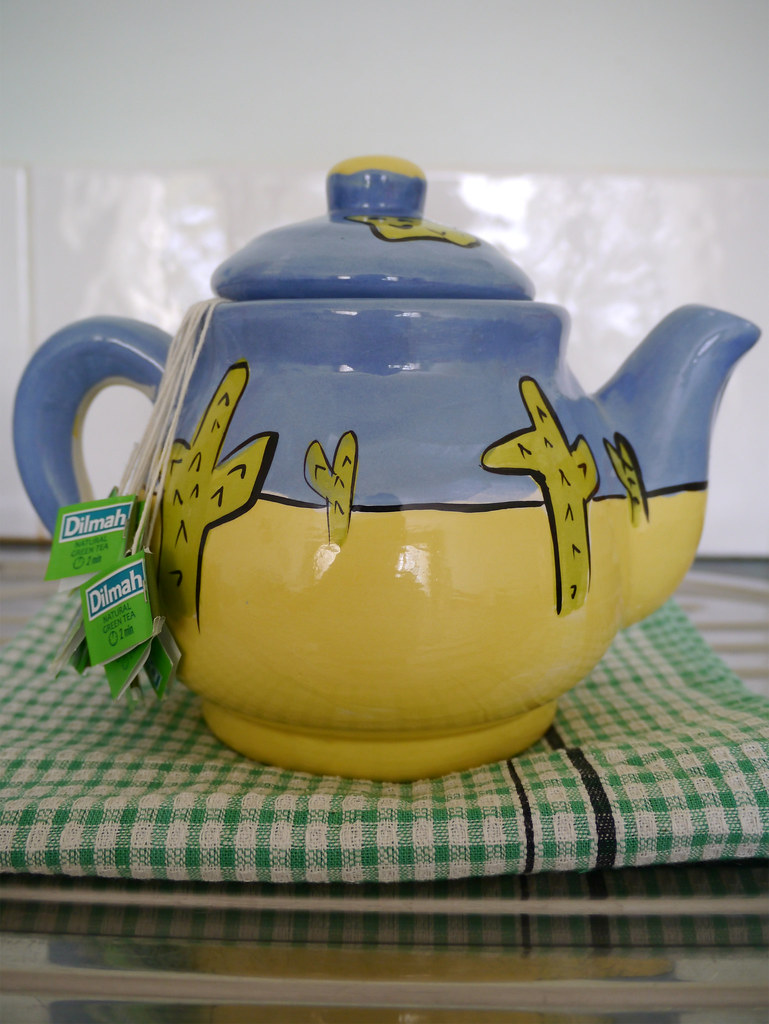
Before you start, prepare a new pot of tea the same way as before (as demonstrated in Part 2) so that you can use it to make your next round of kombucha. This way, you’ll have a continual supply of kombucha available/in the making. I used 12 green tea bags and 1 cup of raw sugar to make 4 litres of sweetened tea.


First, taste test the brewed kombucha tea.
I did this by simply inserting a straw into the jar of kombucha and blocking the end/hole of the straw to transfer the tea into a cup.
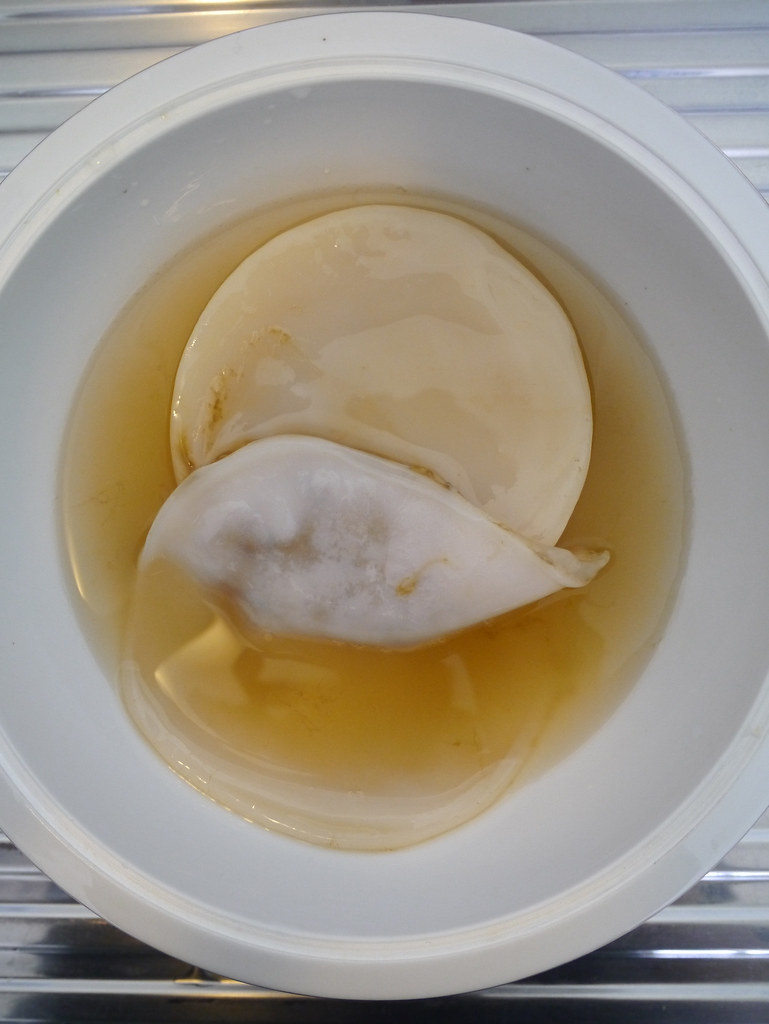
When you are happy with the taste of the kombucha, carefully transfer the SCOBYs from the jar into a clean (non metal) bowl. Add 1 cup of the kombucha tea from the jar into the bowl to keep the SCOBYs hydrated. Cover with a lid and put aside.
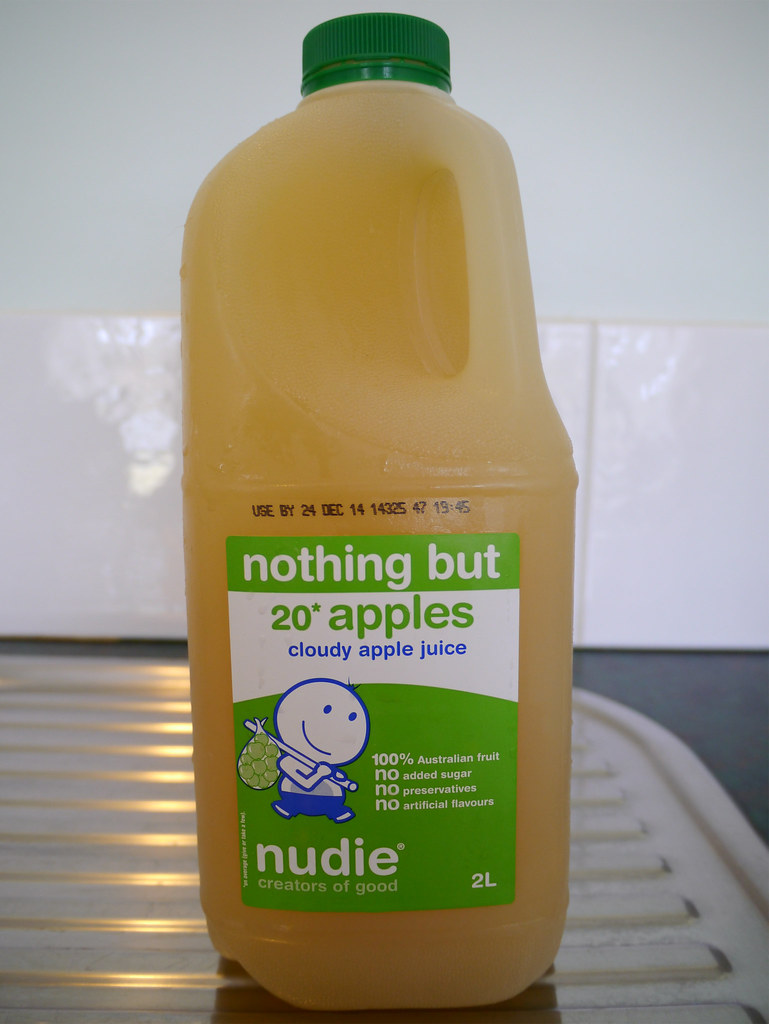

Using a plastic funnel, pour 250 ml of apple juice into a clean flip top glass bottle.
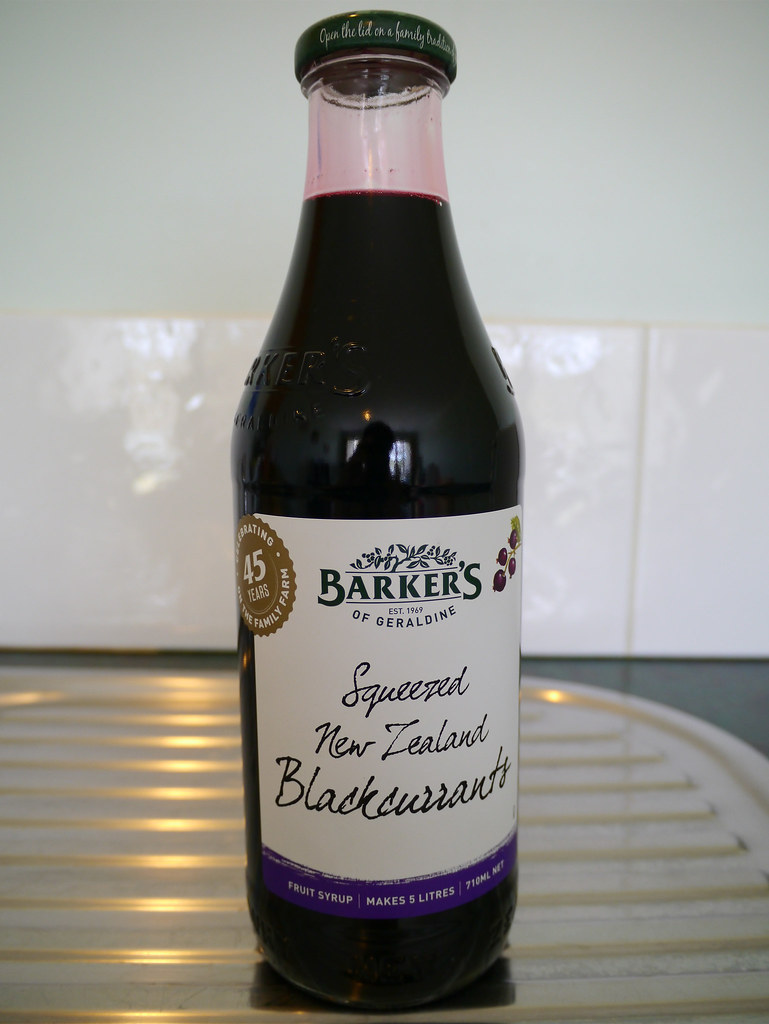
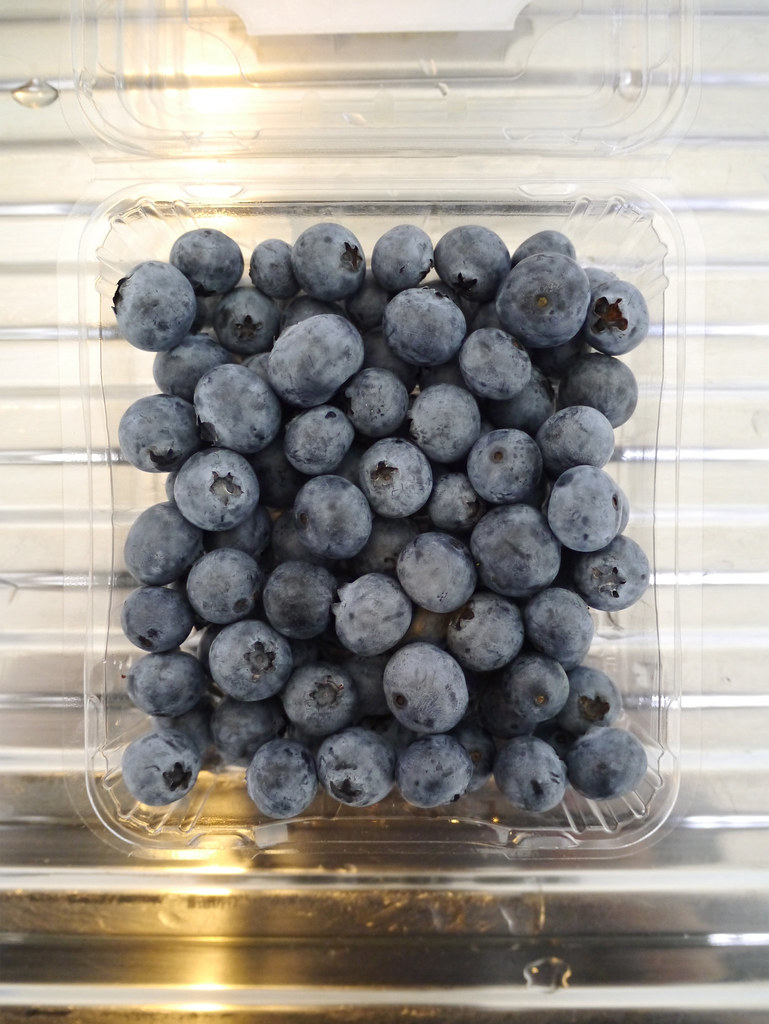
Note: You can experiment and use your favourite type of fruit juice (fresh or bottled), fresh fruit slices, fruit syrup, berries, etc. You will need to experiment to find out the correct quantity to use to find out what suits your tastebuds. For example, fruit syrups are more sweet/intense in flavour compared to some fruit juices. In this experiment, I flavoured one bottle with cloudy apple juice (1 cup), 1 bottle with blackcurrant syrup (½ cup), 1 bottle with fresh blueberries (½ cup). I left 1 and a half bottles plain/unflavoured to make a comparison.

Carefully pour the kombucha from the jar into a jug with a handle to make it easier to pour into the glass bottles.
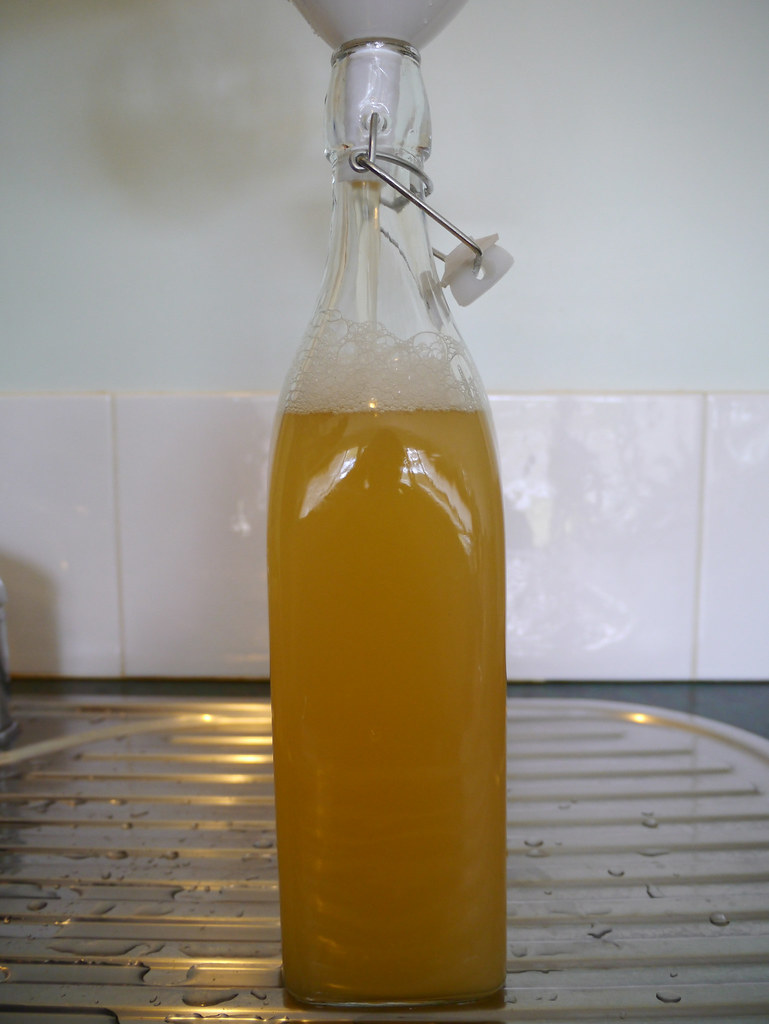
Using a plastic funnel, carefully pour the kombucha into the glass bottle with the fruit juice to fill it up. Leave about 3 cm head space. Put the cap back on and seal. Repeat this process for the remaining kombucha tea and glass bottles.
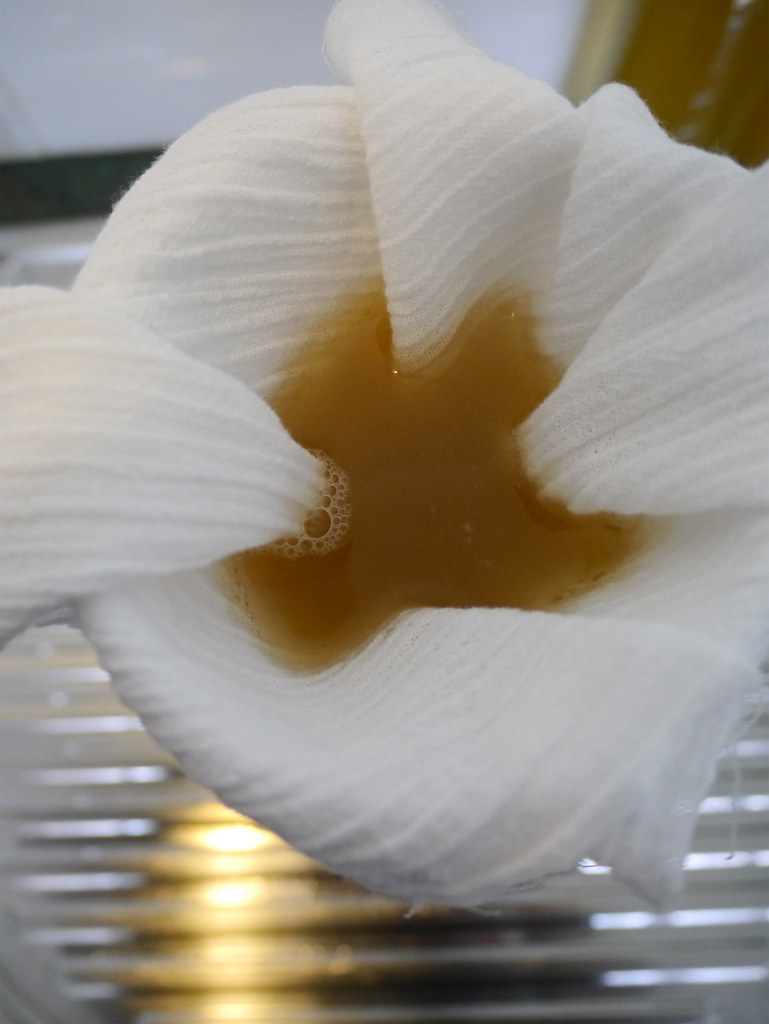
Optional: If you prefer, you can line the funnel with cheesecloth before pouring in the kombucha, to remove the floating strands/”stuff” that are in the kombucha.
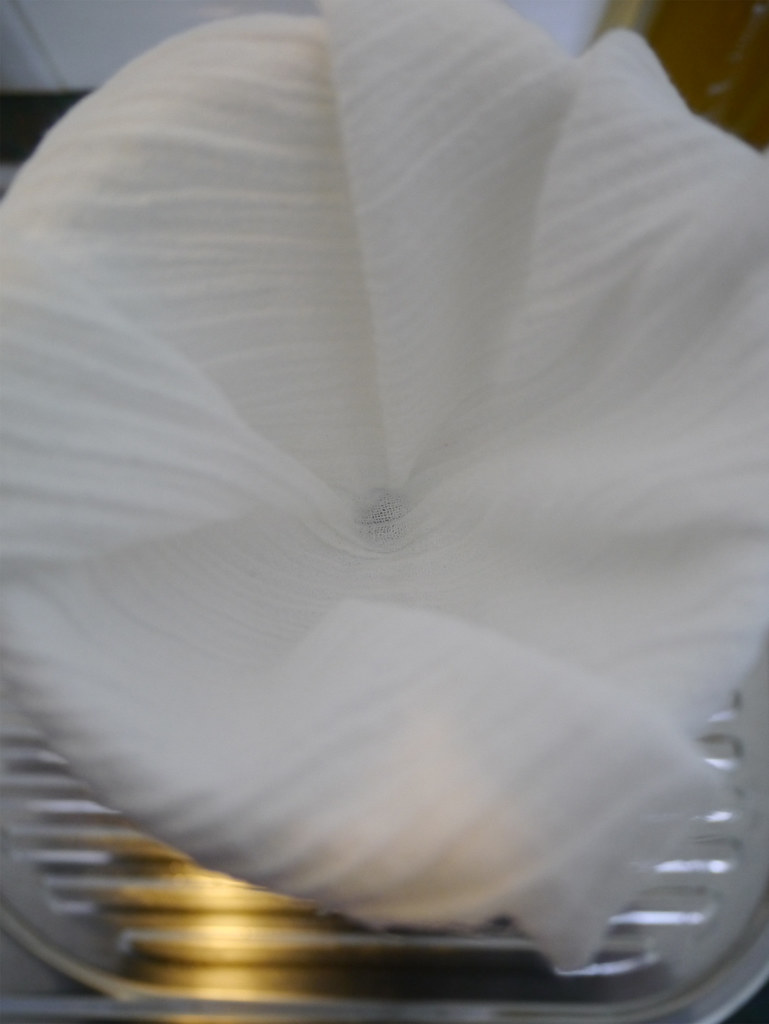
Note: For the remaining kombucha and last bottle (I only half filled it – I hate to waste anything), I ended up lining the funnel with cheesecloth before pouring in the kombucha because the remaining kombucha simply looked too murky/cloudy!

Place the prepared bottles of flavoured and plain kombucha tea in a safe place at room temperature to carbonate for 2-7 days. When they’ve reached a level of carbonation that you’re happy, transfer them to the fridge to stop further fermentation and carbonation. Serve the kombucha tea cold and/or with ice cubes. Cheers! bigsmile
Note: Using flip top bottles is a good idea however they are not always easy to find. I asked myself – won’t recycled wine bottles work just fine? We usually have a few empty bottles lying around the house and they’re made of glass too. The only difference is their lids. Surely, if the wine bottles are good enough to store wine in, they’re good enough to store kombucha in too. So, I used 2 recycled wine bottles to bottle 1 and a half bottles of plain kombucha in. They don’t look as fancy, but they’re certainly doing the job just fine. I can’t wait to taste them all!
Finally, with your completely cooled down pot of sweetened tea, and reserved SCOBY and starter tea, prepare your second round of kombucha tea as demonstrated in Part 2!
- 4 litre jar of fermented kombucha tea (with SCOBY)
- 1 pot for tea (12 green tea bags, 1 cup of raw sugar)
- 4 litres of water
- 1 cup of apple juice
- ½ cup of blackcurrant syrup
- ½ cup of fresh blueberries
- Before you start, prepare a new pot of tea the same way as before (as demonstrated in Part 2) so that you can use it to make your next round of kombucha. This way, you’ll have a continual supply of kombucha available/in the making. I used 12 green tea bags and 1 cup of raw sugar to make 4 litres of sweetened tea.
- First, taste test the brewed kombucha tea.
- When you are happy with the taste of the kombucha, carefully transfer the SCOBYs from the jar into a clean (non metal) bowl. Add 1 cup of the kombucha tea from the jar into the bowl to keep the SCOBYs hydrated. Cover with a lid and put aside.
- Using a plastic funnel, pour 250 ml of apple juice into a clean flip top glass bottle.
- Carefully pour the kombucha from the jar into a jug with a handle to make it easier to pour into the glass bottles.
- Using a plastic funnel, carefully pour the kombucha into the glass bottle with the fruit juice to fill it up. Leave about 3 cm head space. Put the cap back on and seal. Repeat this process for the remaining kombucha tea and glass bottles. Optional: If you prefer, you can line the funnel with cheesecloth before pouring in the kombucha, to remove the floating strands/”stuff” that are in the kombucha.
- Place the prepared bottles of flavoured and plain kombucha tea in a safe place at room temperature to carbonate for 2-7 days. When they've reached a level of carbonation that you’re happy, transfer them to the fridge to stop further fermentation and carbonation. Serve the kombucha tea cold and/or with ice cubes. Cheers!bigsmile
- Finally, with your completely cooled down pot of sweetened tea, and reserved SCOBY and starter tea, prepare your second round of kombucha tea as demonstrated in Part 2!
Notes:
- You see, when growing the SCOBY/XING, I did not have to wait for 81 days before using it (in fact this was quite extreme!). I could have successfully used the SCOBY when it was about 2 weeks old. This way, the whole kombucha making process would have happened a lot faster. ↩
I have a friend who makes kombucha every month or so and I always say I’m going to do it too. I haven’t got there yet but I will. Excellent instructions.
Hi Maureen,
Thank you for your comment. I think the process is pretty simple. I’ve just made it difficult with all the photos, instructions and dialogue, and once the process is started, it’s easy to maintain. I do enjoy the taste of kombucha and the idea of having it readily available at home suits perfectly. Looking forward to mixing it with other flavours. Best wishes! :D
I have never tasted this and your kombucha looks really good.
Hi Nye,
Thank you for your comment. If you like tea, this is a nice and fizzy change. Bottled kombucha can sometimes be found in health food stores, or you can always make your own. :) SCOBYs can be found on Etsy for example. I’m looking forward to trying it. Update post coming soon. Best wishes!
I bet these will taste awesome when they’re ready! Well done on persisting with this – and all your detailed photos!
Thank you for your comment Helen! The bottles are starting to bubble and floating bits are appearing which don’t look so good, but my readings suggests this is normal. Will strain it before serving/drinking. Thanks for the encouragement. I appreciate it. Food blogging takes time, and is hard work, but I love it. Best wishes! :D
What a beautiful colour-it’s looking great. It is an extremely lengthy process that could be frustrating but so rewarding at the end point. We have all been learning!
Hi Jem! Thanks for your comment. Yes, I love the amber colour too – good green tea, and black tea would make it darker/browner which is also nice. Partly my fault for taking so long and making the process so labourious and time-consuming, but at least now, I know how it’s done and can share the process. Next round will be easier/quicker too. :)